 We can smell winter in the air today, we got the first snow this weekend. What a joy for little ones, who already prepared the carrot, charcoal and old polka dot pot to make their first snowman this year.
But mommy didn’t have to wait for real snow, she knows how to build one just like that:
 I BUILD A SNOWMAN
I built a little snowman. (Make large circle with arms)
He had a carrot nose (point to nose)
Along came a bunny (hold up to bent fingers)
And what do you suppose? (Shrug)
That hungry little bunny, (make bunny again)
Looking for his lunch, (hop bunny around)
Ate the snowman’s nose. (Pretend bunny is eating nose)
Nibble! Nibble! Crunch! (Pretend to be eating a carrot)
Do you know this song? It is a very cute little song to play with your little ones. This and more snowman songs you can find on everythingprescol.com.
Since mommy knows how to sew as well, she has sewn a little snowman for the little one, so that the waiting for the real snow was a little easier.
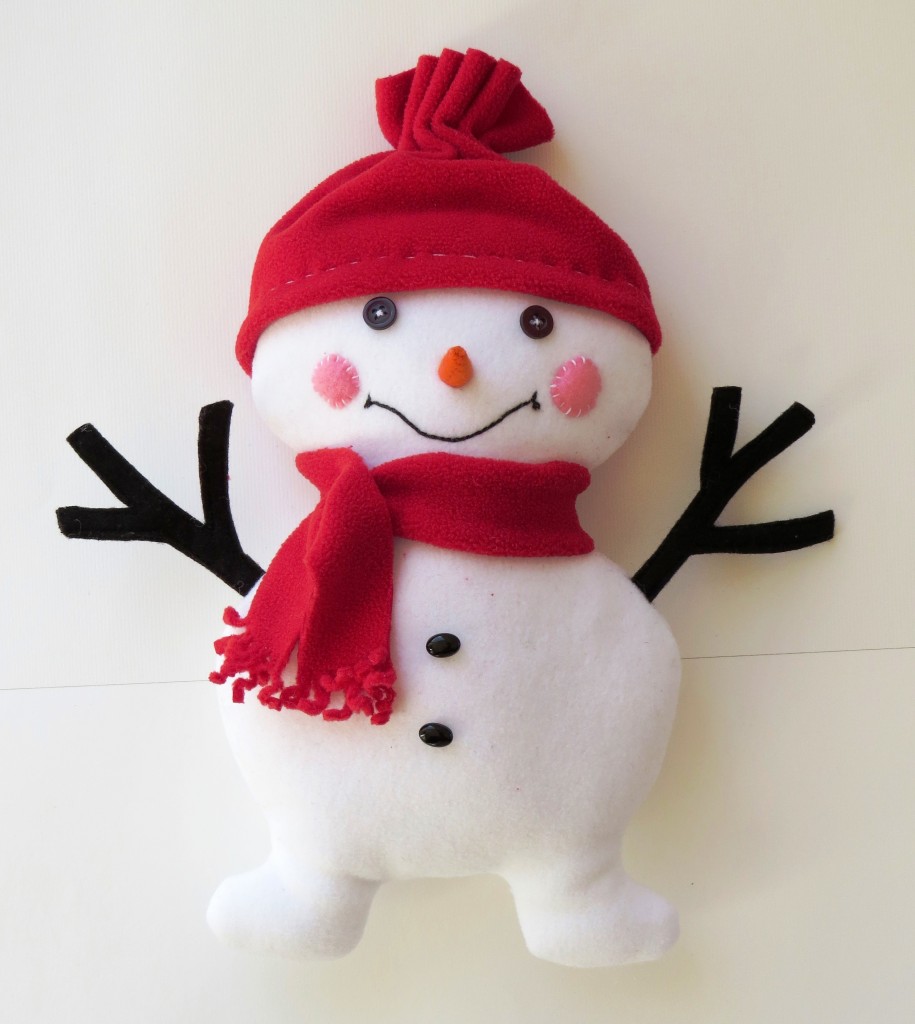
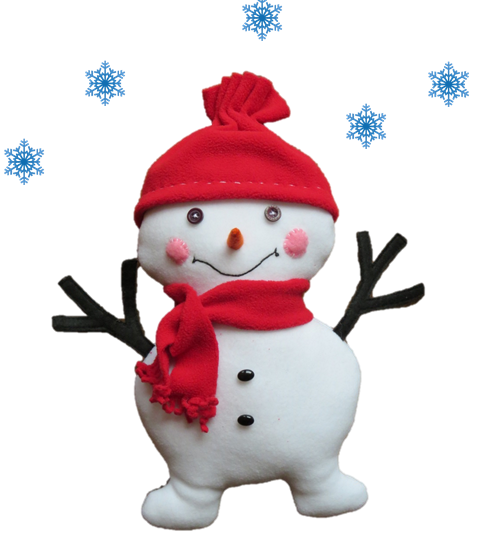
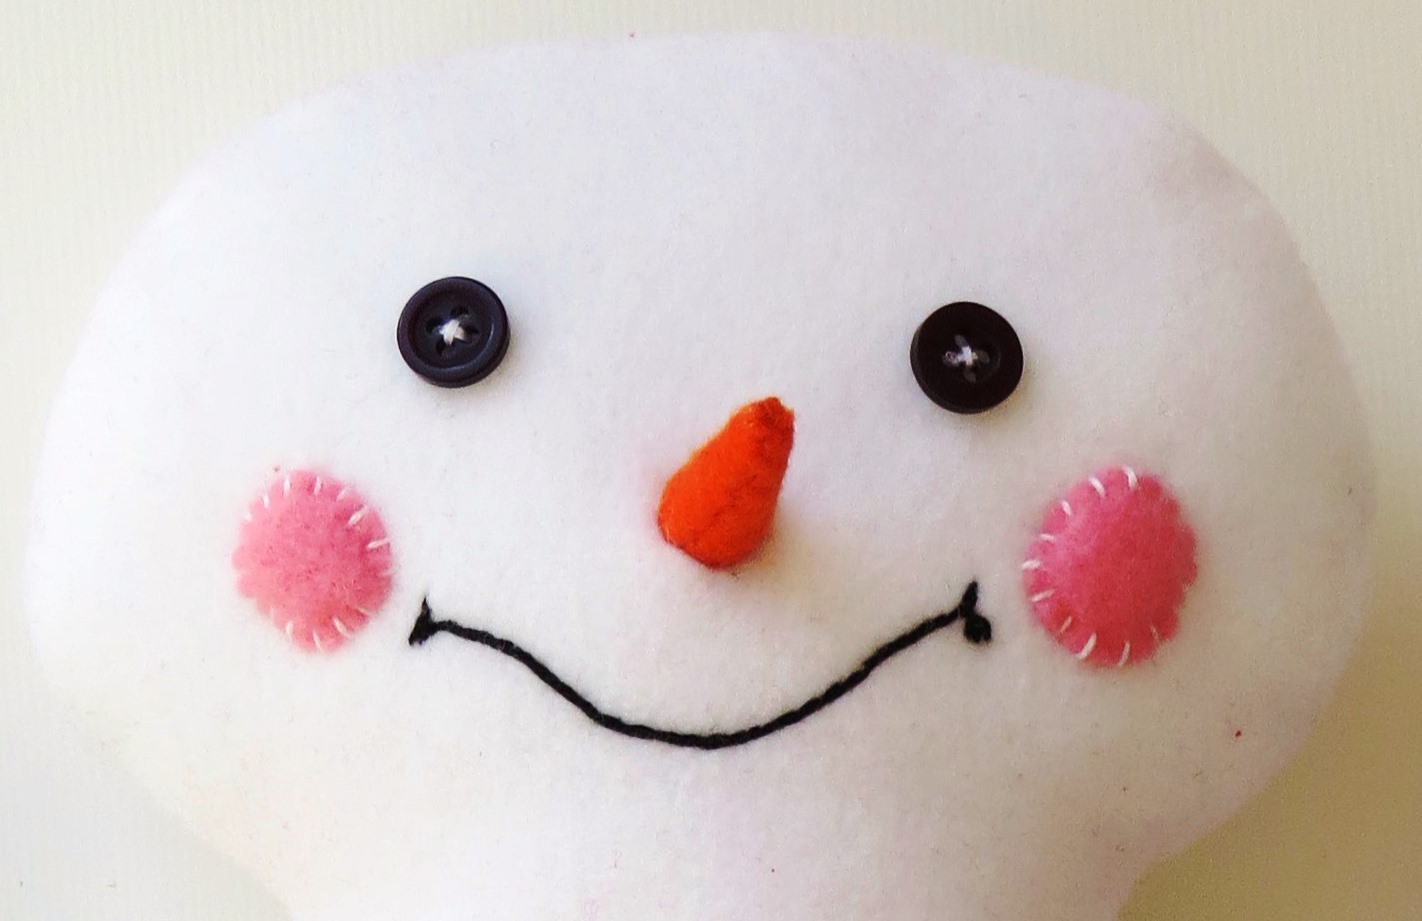
So, let me introduce you to Lumi the Snowman. His name comes from the Finnish word lumi, which means the snow. He is happy, jolly little fellow, that adores winter fun. In the evening, little tired from playing, and with red cheeks from the fresh winter air, he snuggles to warm bad to his playmate. He has a super power as well – he will never ever melt, that is what I promise.
Material you will need for sewing Lumi the Snowman
- Prewashed soft anti-pill fleece in a white and red color
- Felt in black and orange color
- Black and white embroidery thread
- Two buttons for eyes
- Two buttons for body
- Filler for toys
How to steps for sewing Lumi the Snowman?
Step 1
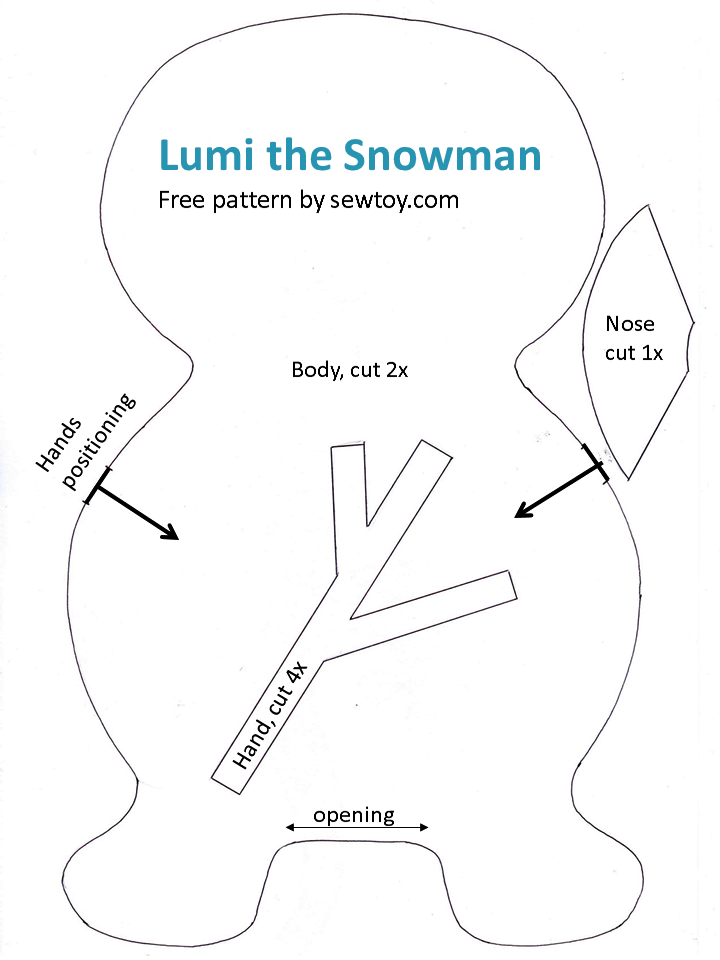
Print your free Lumi the Snowman pattern, but don’t cut the pieces out just yet. Since sewing fleece may be challenging, I have used a small trick. Cut two squares from the white fleece, just a bit bigger than the snowman body and position them right sides together. Put the paper with printed pattern on the top and pin the head. See Teddy bear tutorial.
Step 2
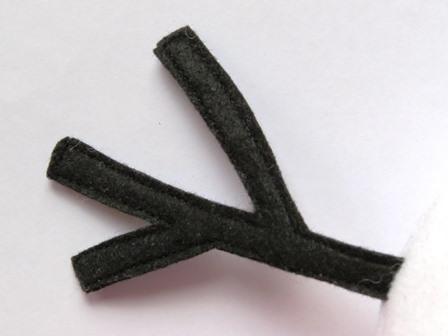
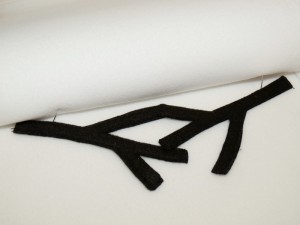
Cut four pieces for hands from black felt and sew two and two together.
Step 3
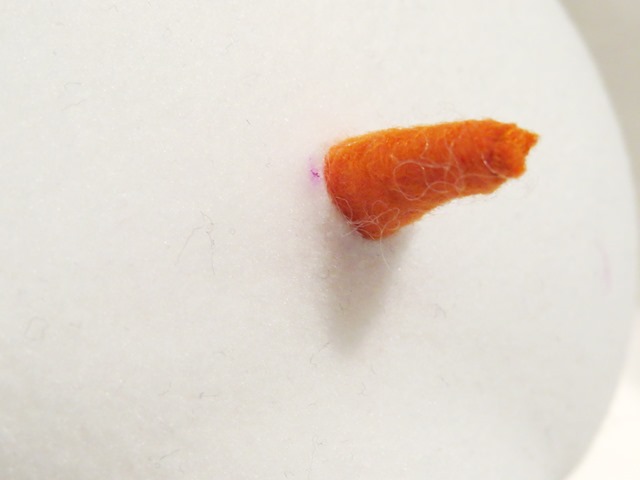
Make the nose from orange felt. Fold the piece as shown on the picture and role it from the thick part toward the other side creating some sort of a cone. Sew it together. You will get a firm carrot nose.
Step 4
Using the pins (see the picture) mark where the hand will be with pushing the pin through the paper and both layers of fleece. Raise the top piece carefully so that the pins stay put and position the hands. Lower the top piece back and pin well together.

Step 5
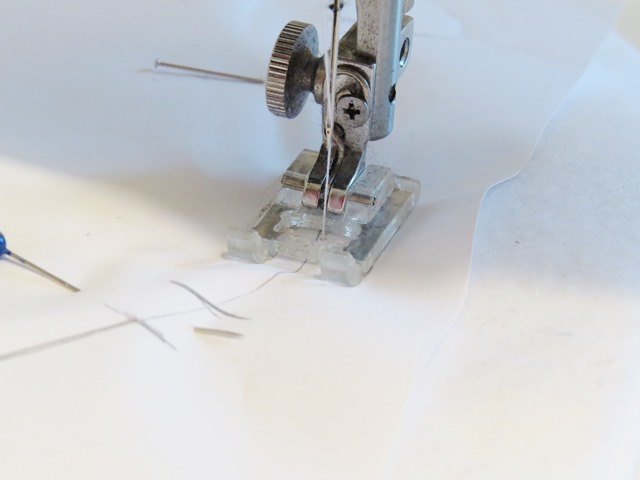
Sew the snowman together following the pattern line on the paper. Leave an opening as marked on the pattern between the legs.
Step 6
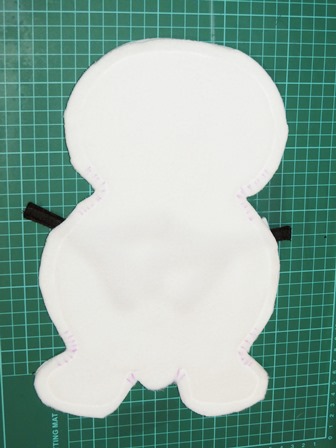
Carefully remove the paper with the pattern. Cut out the snowman from the fleece so that you cut approximately 0,5 cm away from the sewing line, living extra 0,5 cm around the opening, which will make closing the opening much easier later.
Make small cuts where marked with purple stripes on the picture (neck, legs) all the way to the seam, just be careful not to cut through it.
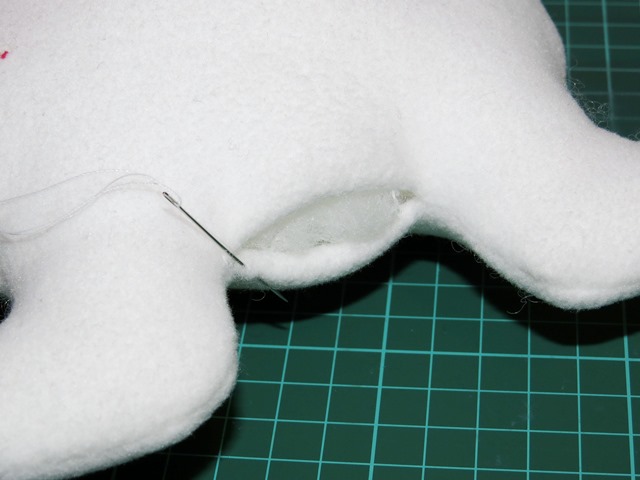
Step 7
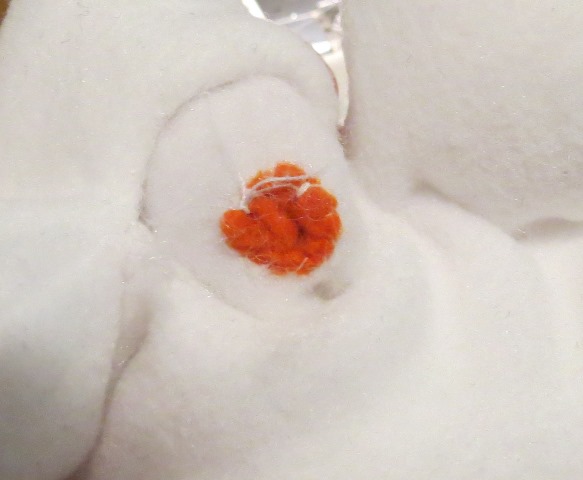
Make a really small cut on the head where you will position the nose. Push the nose from the inside through the little whole leaving just a bit inside. Using white thread sew the nose to the fleece from inside – make sure you sew it firmly because kids will for sure pull his nose.
Step 8
Turn the snowman around through the opening and fill it with filler. Close the opening using the ladder stitch.
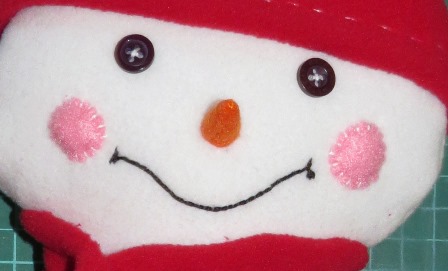
Step 9
Use a trick pen to draw the position of eyes and mouth. Sew on the buttons. Always start by stabbing the needle from the other side of the head to the front side, so that the end of the thread will be hidden inside the head. Then make three small stitches on the same spot to fix the thread and then sew the eye over these three stitches so that they will not be visible at the end. When you are finished with embroidery, hide the ending under the embroidery and back through the head. The same goes with the mouth and cheeks.
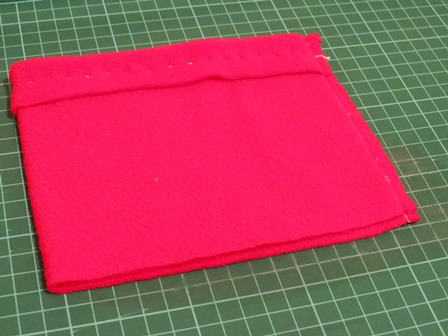
Step 10
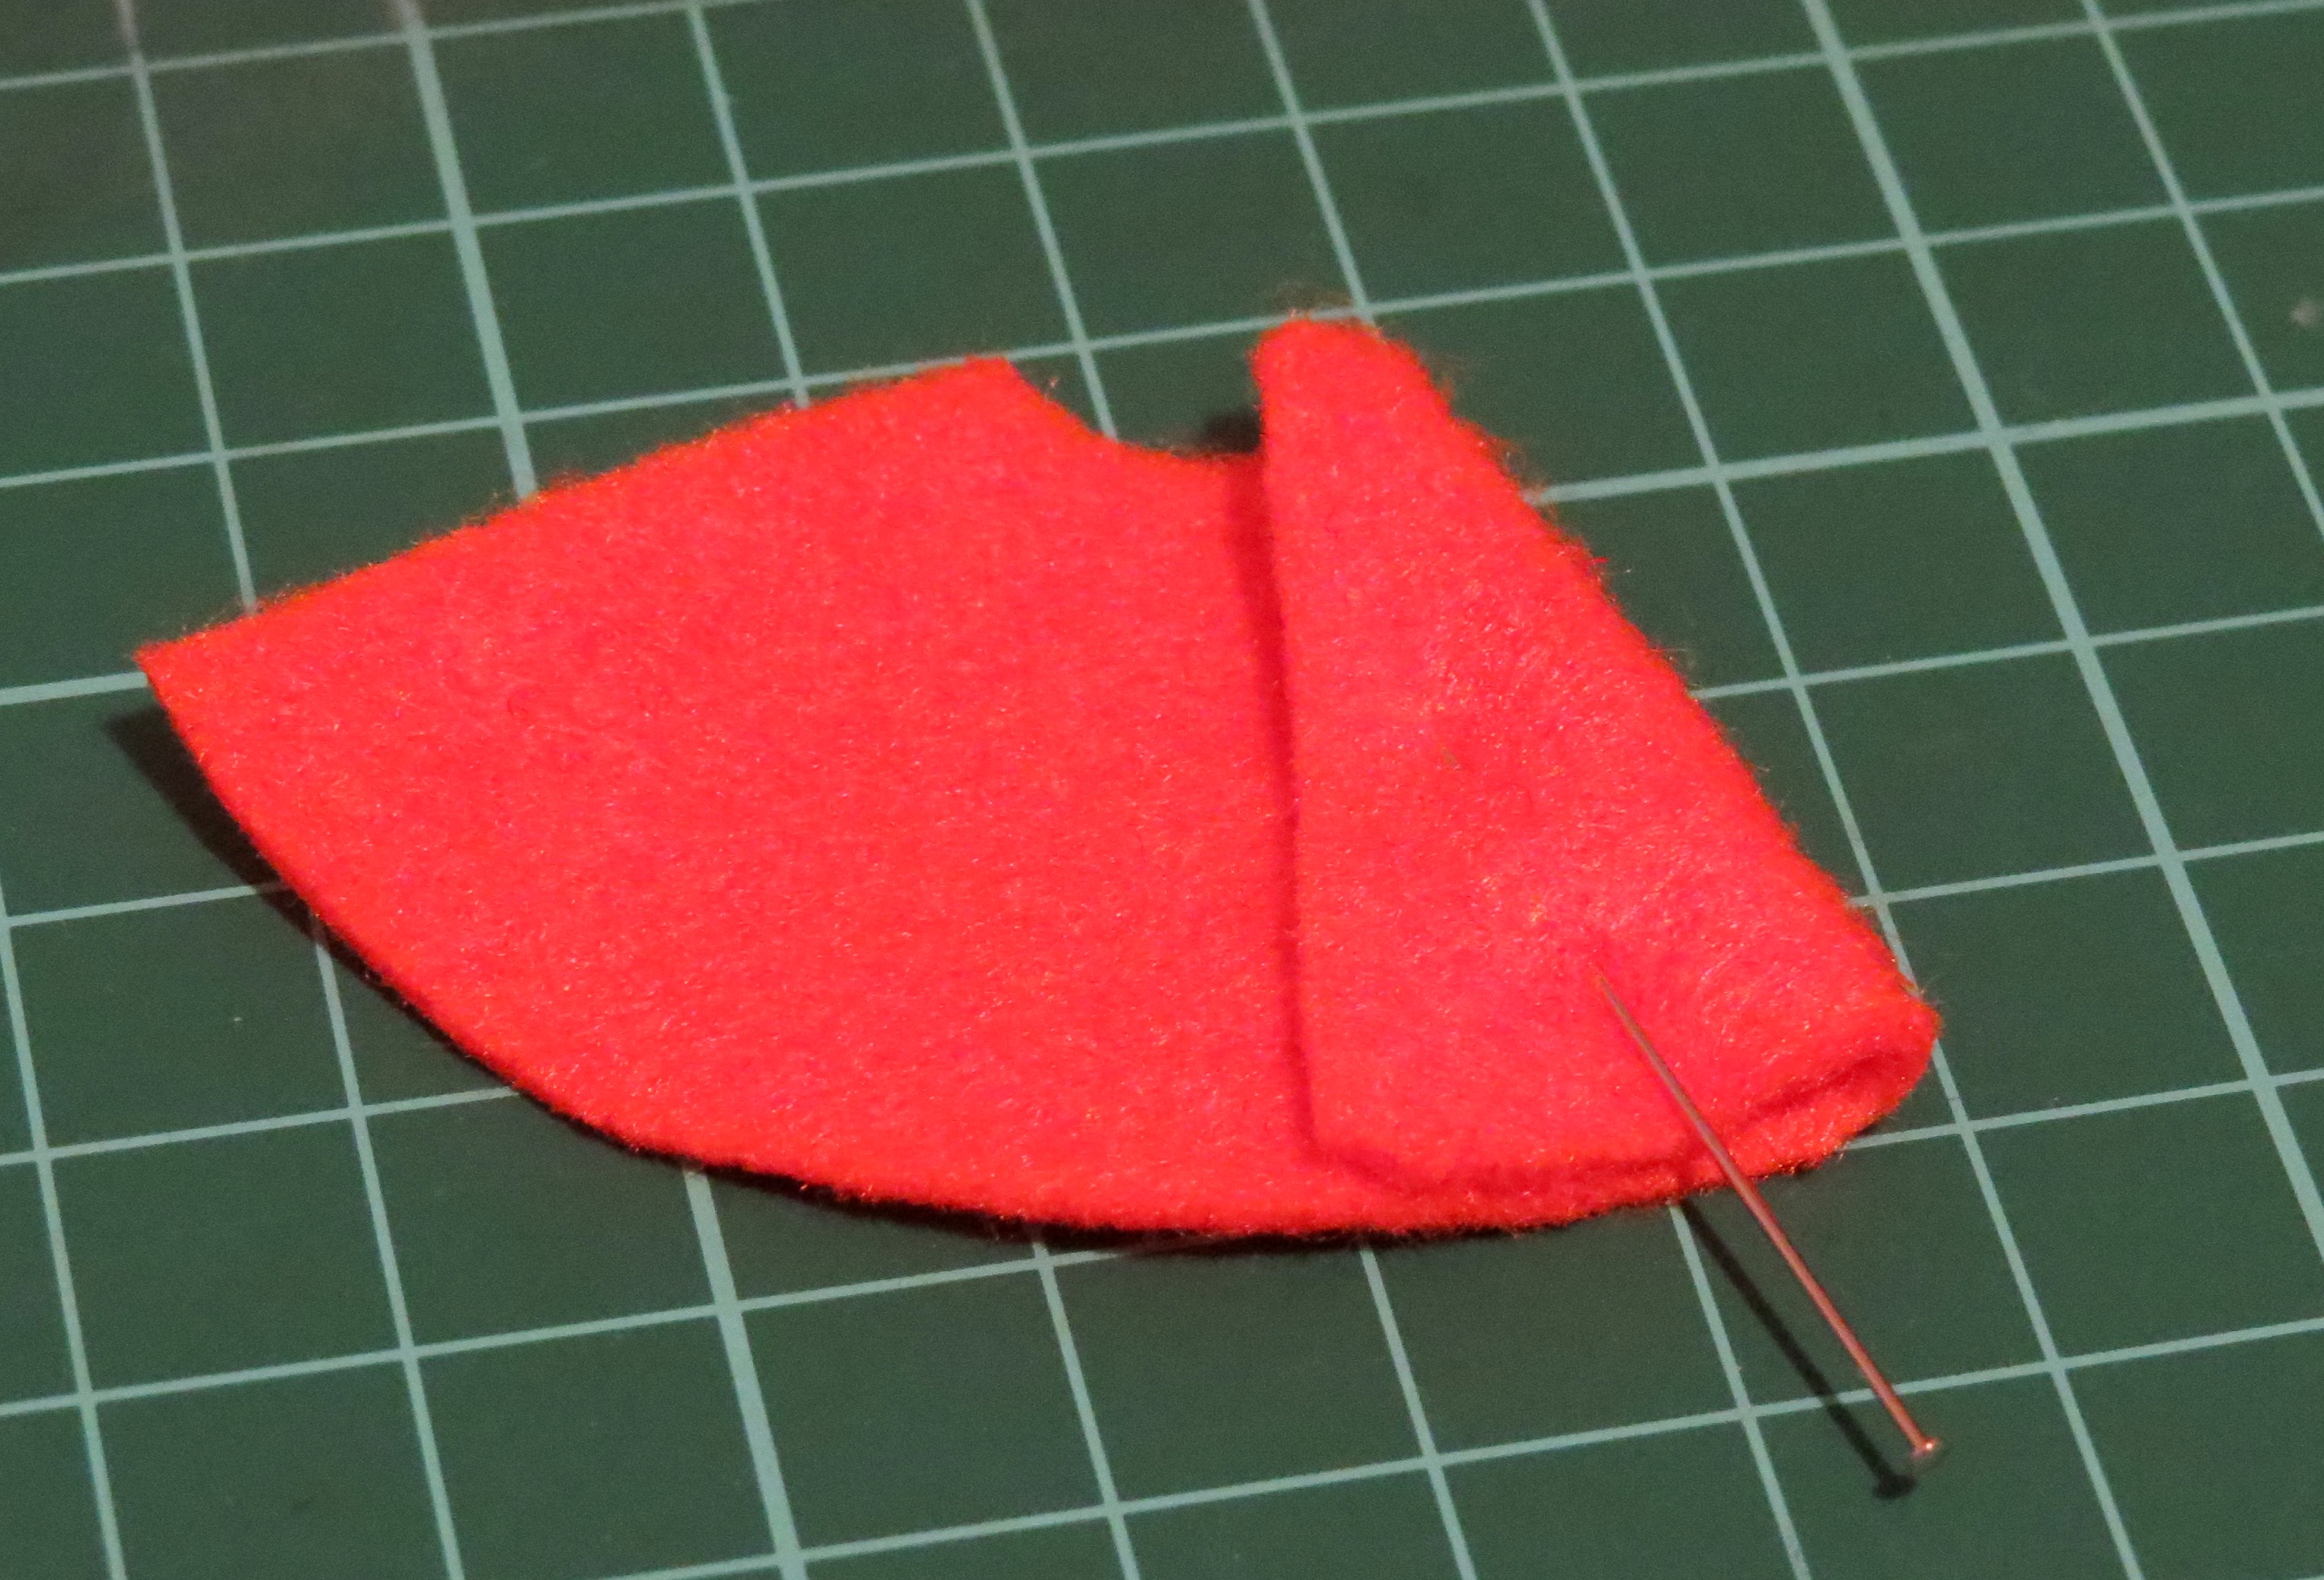
To make sure that snowman will not be cold, you can make him a simple scarf and cap from red fleece. For scarf just cut a long rectangle, add the fringes, and the hole where the scarf will be pulled through. For the cap, sew a tube like on the picture, turn around, and make big running stitches above the top (bottom side on the picture) and tighten.
That’s it! Do you think kids will like him?

The only thing left is to share a picture of your Lumi the Snowman, your little masterpiece with us on our Facebook or Google+. We would really love to see it.

Do you have any additional ideas how to make this free Lumi the Snowman pattern and tutorial even helpful? Do you like it? I would appreciate your comments in the comments section below.


One response
Wish I’d seen this before Christmas, they are adorable